Let me begin this article on Writing a Microservice in Rust by talking about C++. I’ve been a reasonably active member of the C++ community for quite a while now, attending and contributing talks to conferences, following the development and evangelism of the language’s more modern features and of course writing lots of it. C++ is a language that gives its users very fine-grained control over all aspects of the program they are writing, at the cost of a steep learning curve and a large body of knowledge required to write effective C++. However, C++ is also a very old language, conceived by Bjarne Stroustrup in 1985, and thus caries a lot of technical debt even into modern standards. Of course, research into language design continued after the creation of C++, leading to interesting new programming languages like Go, Rust, Crystal and many more. However, it’s very rare for one of these new languages to have significantly more interesting features than modern C++, while still guaranteeing the same performance and control over memory and hardware. Go set out to be a replacement for C++, but as Rob Pike found himself, C++ programmers were not quite elated by a language that offers less control at lower performance. On the other hand, Rust is appealing to many a C++ aficionado. Rust and C++ share quite a few design goals, such as zero-cost abstractions and detailed control over memory. However, on top of that, Rust adds a number of language features that make programs safer and more expressive, and development more productive. The things that excite me the most about Rust are
- The borrow checker, which greatly improves memory safety (
SEGFAULTs no more!), - Immutability (
const) by default, - Intuitive syntactic sugar such as pattern matching,
- No built-in implicit conversions between (arithmetic) types.
Now, having rambled, the remainder of this post will walk you through creating a small but complete microservice – similar to the URL shortener I built for my blog. With microservice, I mean an application that speaks HTTP, accepts requests, speaks to a database, returns a response (possibly serving HTML), packaged up in a Docker container and ready to be dropped somewhere in the cloud. For this post, we’ll build a simple chat application which lets you store and retrieve messages. I will introduce the relevant packages (crates) we’ll use for this as we go along. You can find the complete service on GitHub.
Speaking HTTP
The first thing we need to teach our web service is how to speak HTTP. With that, I mean that our application (server) has to accept and parse HTTP requests and return HTTP responses. While there exist a number of high-level, Flask or Django like frameworks that abstract away most of the fun about this, we will opt for using the slightly lower-level hyper library to handle HTTP, which uses the tokio networking library and futures, to give us the ability to create a neat asynchronous web server. For vanity, we’ll also use the log and env-logger crates for logging purposes.
We’ll begin by setting up our Cargo.toml and grabbing said crates:
[package]
name = "microservice_rs"
version = "0.1.0"
authors = ["you <you@email>"]

[dependencies]
env_logger = "0.5.3"
futures = "0.1.17"
hyper = "0.11.13"
log = "0.4.1"
Now to the actual code. Hyper has the concept of a Service, which is a type that implements the Service trait and has a call function, which can be called with a hyper::Request object representing a parsed HTTP request. That function must, for an asynchronous service, return a Future. Here is the basic boilerplate for this, which we can drop into our main.rs:
extern crate hyper;
extern crate futures;

#[macro_use]
extern crate log;
extern crate env_logger;

use hyper::server::{Request, Response, Service};

use futures::future::Future;

struct Microservice;

impl Service for Microservice {
    type Request = Request;
    type Response = Response;
    type Error = hyper::Error;
    type Future = Box<Future<Item = Self::Response, Error = Self::Error>>;

    fn call(&self, request: Request) -> Self::Future {
        info!("Microservice received a request: {:?}", request);
        Box::new(futures::future::ok(Response::new()))
    }
}
Note how we also have to declare some basic types for our service. Our future
type is boxed, since futures::future::Future itself is only a trait and can
thus not be returned from a function by value. Inside call(), we currently
return the simplest valid value, a boxed future containing an empty response.
To start the server, we bind an IP address to a hyper::server::Http instance and call its run() method:
fn main() {
    env_logger::init();
    let address = "127.0.0.1:8080".parse().unwrap();
    let server = hyper::server::Http::new()
        .bind(&address, || Ok(Microservice {}))
        .unwrap();
    info!("Running microservice at {}", address);
    server.run().unwrap();
}
With the above code, hyper will start listening for HTTP requests at
localhost:8080, parse incoming requests and forward them to our
Microservice class. Note that a new instance is created for each new request.
We are now ready to start our server and curl some requests at it! Start a server in one terminal:
$ RUST_LOG="microservice=debug" cargo run
  Finished dev [unoptimized + debuginfo] target(s) in 0.0 secs
    Running `target/debug/microservice`
INFO 2018-01-21T23:35:05Z: microservice: Running microservice at 127.0.0.1:8080
And send it requests from another:
$ curl 'localhost:8080'
In the first terminal, you should see something like
$ RUST_LOG="microservice=debug" cargo run
  Finished dev [unoptimized + debuginfo] target(s) in 0.0 secs
  Running `target/debug/microservice`
Running microservice at 127.0.0.1:8080
INFO 2018-01-21T23:35:05Z: microservice: Running microservice at 127.0.0.1:8080
INFO 2018-01-21T23:35:06Z: microservice: Microservice received a request: Request { method: Get, uri: "/", version: Http11, remote_addr: Some(V4(127.0.0.1:61667)), headers: {"Host": "localhost:8080", "User-Agent": "curl/7.54.0", "Accept": "*/*"} }
Hooray! We have ourselves a basic server, written in Rust. Note that in the commands above, I prepended RUST_LOG="microservice=debug" to cargo run. This is how we control the behavior of env_logger, which will look for this environment variable specifically. The first part of this specifies the root module for which we want to enable logging, and the second part (after the =) specifies the minimum logging level that will be visible. By default, only error! gets logged.
Now, let’s make our server actually do something. Since we’re building a chat
application, the two kinds of requests we’ll want to handle are POST requests,
with form data containing the user’s name and the message, and GET requests with
optional before and after parameters to filter by time.
Accepting POST Requests
Let’s begin on the write-side. We’ll accept POST requests to our service’s root path ("/") and expect them to contain a username and message field in their form data. We’ll then pass that information on to a function that writes the values of those fields into a database. Finally, we return a response.
Let’s begin with rewriting call():
fn call(&self, request: Request) -> Self::Future {
        match (request.method(), request.path()) {
            (&Post, "/") => {
                let future = request
                    .body()
                    .concat2()
                    .and_then(parse_form)
                    .and_then(write_to_db)
                    .then(make_post_response);
                Box::new(future)
            }
            _ => Box::new(futures::future::ok(
                Response::new().with_status(StatusCode::NotFound),
            )),
        }
    }
We distinguish between different requests by matching on the method and path of
the request. The method will be Post or Get in our case. The only valid path
for our service is the root path "/". If the method is &Post and the path
correct, we call the functions I mentioned earlier. Notice how beautifully we
can pipeline the futures using their combination functions. The and_then
combinator will call a function with the value contained in a future, if that
future resolved successfully (did not contain an error). The function called
must then return a new future. This allows passing values through several stages
of processing, without computing anything just yet. Finally, we have a then
combinator, which executes its callback regardless of the future’s state. As
such, it receives a Result and not a value directly.
Here are the stubs for the functions used above:
struct NewMessage {
    username: String,
    message: String,
}

fn parse_form(form_chunk: Chunk) -> FutureResult<NewMessage, hyper::Error> {
    futures::future::ok(NewMessage {
        username: String::new(),
        message: String::new(),
    })
}

fn write_to_db(entry: NewMessage) -> FutureResult<i64, hyper::Error> {
    futures::future::ok(0)
}

fn make_post_response(
    result: Result<i64, hyper::Error>,
) -> FutureResult<hyper::Response, hyper::Error> {
    futures::future::ok(Response::new().with_status(StatusCode::NotFound))
}
and our use statements have changed a little too:
use hyper::{Chunk, StatusCode};
use hyper::Method::{Get, Post};
use hyper::server::{Request, Response, Service};

use futures::Stream;
use futures::future::{Future, FutureResult};
Let’s continue by taking a look at parse_form, which receives a Chunk (a
message body), and parses out the username and message while handling errors
appropriately. To parse the form, we use the url crate (which you’ll have to grab with cargo):
use std::collections::HashMap;
use std::io;

fn parse_form(form_chunk: Chunk) -> FutureResult<NewMessage, hyper::Error> {
    let mut form = url::form_urlencoded::parse(form_chunk.as_ref())
        .into_owned()
        .collect::<HashMap<String, String>>();

    if let Some(message) = form.remove("message") {
        let username = form.remove("username").unwrap_or(String::from("anonymous"));
        futures::future::ok(NewMessage {
            username: username,
            message: message,
        })
    } else {
        futures::future::err(hyper::Error::from(io::Error::new(
            io::ErrorKind::InvalidInput,
            "Missing field 'message",
        )))
    }
}
After parsing the form into a hashmap, we attempt to remove the message key
from it. If that fails, we return an error, since a message is mandatory.
Otherwise, we grab the username field, which we default to "anonymous" if
it’s not there. Finally, we return a successful future containing our simple
NewMessage struct.
I’ll not talk about the write_to_db function just yet. Database interaction is
a beast of its own, so I’ll devote a subsequent section to this function and the
corresponding routine that reads messages from the database. However, note that
write_to_db returns an i64 when successful. This will be the timestamp of the submission of the new message into the database.
Instead, let’s see what we need to do to return a response back to whoever blessed our microservice with a request:
#[macro_use]
extern crate serde_json;

fn make_post_response(
    result: Result<i64, hyper::Error>,
) -> FutureResult<hyper::Response, hyper::Error> {
    match result {
        Ok(timestamp) => {
            let payload = json!({"timestamp": timestamp}).to_string();
            let response = Response::new()
                .with_header(ContentLength(payload.len() as u64))
                .with_header(ContentType::json())
                .with_body(payload);
            debug!("{:?}", response);
            futures::future::ok(response)
        }
        Err(error) => make_error_response(error.description()),
    }
}
We match on the result to see if we were able to write to the database
successfully or not. If so, we’ll create a JSON payload forming the body of
the response we return. For this I use the serde_json crate, which you should
add to your Cargo.toml. When constructing the response struct, we need to set
the correct HTTP headers. In this case, this means setting the Content-Length
header to the length of the response body and the Content-Type header to
application/json.
I’ve refactored out the code to make the response struct for the erroneous case
into a separate function make_error_response, since we’ll be re-using that
later on:
fn make_error_response(error_message: &str) -> FutureResult<hyper::Response, hyper::Error> {
    let payload = json!({"error": error_message}).to_string();
    let response = Response::new()
        .with_status(StatusCode::InternalServerError)
        .with_header(ContentLength(payload.len() as u64))
        .with_header(ContentType::json())
        .with_body(payload);
    debug!("{:?}", response);
    futures::future::ok(response)
}
The response construction is quite similar to the previous function, however
this time we have to set the HTTP status of the response to
StatusCode::InternalServerError (status 500). The default is OK (200), so we
didn’t have to set the status earlier.
Accepting GET Requests
Next, let’s move on to GET requests, which will be sent to our server to fetch
messages. The request is allowed to have two query arguments, before and
after, both timestamps to constrain the messages fetched according to their
timestamp, and both optional. If neither before nor after are present, we
will return only the last message.
Below is the code for the match arm handling GET requests. It’s slightly more
logic than before:
(&Get, "/") => {
    let time_range = match request.query() {
        Some(query) => parse_query(query),
        None => Ok(TimeRange {
            before: None,
            after: None,
        }),
    };
    let response = match time_range {
        Ok(time_range) => make_get_response(query_db(time_range)),
        Err(error) => make_error_response(&error),
    };
    Box::new(response)
}
By calling request.query(), we get an Option<&str>, since a URI may not have a query string at all. If it is present, we call parse_query, which parses the query arguments and returns a TimeRange struct, defined as
struct TimeRange {
    before: Option<i64>,
    after: Option<i64>,
}
Since both before and after arguments are optional, we make both Options
in the TimeRange struct. Further, the timestamps may be invalid (e.g. not
numeric), so we have to deal with the case where parsing their values fails. In
such a case, parse_query will return an error message, which we can forward to
the make_error_response function we wrote earlier. Otherwise, we can go on to
call query_db, which will fetch the messages for us, and make_get_response,
which creates an appropriate Response object to return back to the client.
To parse the query string, we again use the url::form_urlencoded function from earlier, since the syntax is still key=value&key=value. We then try to fetch the before and after values and convert them to integers (timestamps):
fn parse_query(query: &str) -> Result<TimeRange, String> {
    let args = url::form_urlencoded::parse(&query.as_bytes())
        .into_owned()
        .collect::<HashMap<String, String>>();

    let before = args.get("before").map(|value| value.parse::<i64>());
    if let Some(ref result) = before {
        if let Err(ref error) = *result {
            return Err(format!("Error parsing 'before': {}", error));
        }
    }

    let after = args.get("after").map(|value| value.parse::<i64>());
    if let Some(ref result) = after {
        if let Err(ref error) = *result {
            return Err(format!("Error parsing 'after': {}", error));
        }
    }

    Ok(TimeRange {
        before: before.map(|b| b.unwrap()),
        after: after.map(|a| a.unwrap()),
    })
}
The code for this is unfortunately slightly clunky and repetitive, but is hard
to make much nicer in this case without added complexity. Essentially, we try to
get the before and after fields from the form, and if they are there, we
attempt to parse them as i64. One thing I would have wished for here is to be
able to combine multiple if let statements, so we could write:
if let Some(ref result) = before && let Err(ref error) = *result {
    return Err(format!("Error parsing 'before': {}", error));
}
However, this is not currently possible in Rust (you can have multiple values in
if let statements by packing them in tuples, but not if the values depend on
each other, like here).
Skipping over query_db for now, make_get_response looks fairly simple:
fn make_get_response(
    messages: Option<Vec<Message>>,
) -> FutureResult<hyper::Response, hyper::Error> {
    let response = match messages {
        Some(messages) => {
            let body = render_page(messages);
            Response::new()
                .with_header(ContentLength(body.len() as u64))
                .with_body(body)
        }
        None => Response::new().with_status(StatusCode::InternalServerError),
    };
    debug!("{:?}", response);
    futures::future::ok(response)
}
If the messages option contains a value, we can pass the messages on to
render_page, which will return an HTML page that forms the body of our
response, showing the messages in a simple HTML list. If the option is
empty, an error occurred in query_db, which we’ll log but not expose to the
user, so we just return a response with status code 500. I’ll cover the implementation of render_page in the section on templating.
Connecting to a Database
Now that we have paths for both writing and reading in our service, we need to
tie the ends together with a database to write to and read from. Rust has a very
nice and popular object relational model (ORM) library called
diesel, which is very fun and intuitive to work with. Add it
to your Cargo.toml and enable the postgres feature, since we’ll
be using Postgres for this tutorial:
diesel = { version = "1.0.0", features = ["postgres"] }
Please make sure you have Postgres installed on your machine and are able to log
in with psql (as a basic sanity check). Diesel also supports other DBMSs like
MySQL, in case you want to try those out after this tutorial.
Let’s begin by creating a database schema for our application. We’ll drop it in schemas/messages.sql:
CREATE TABLE messages (
  id SERIAL PRIMARY KEY,
  username VARCHAR(128) NOT NULL,
  message TEXT NOT NULL,
  timestamp BIGINT NOT NULL DEFAULT EXTRACT('epoch' FROM CURRENT_TIMESTAMP)
)
Each row in our table stores a message, represented by a monotonically
incrementing ID, the username of the author, the message text and finally a
timestamp. The default value of the timestamp specified above will insert the
current seconds since the epoch for every new entry. Since the id column is
also auto-incrementing, we’ll ultimately only have to insert the username and
message for each new row.
We now have to integrate this table with Diesel. For this, you’ll need to
install the Diesel CLI with cargo install diesel_cli. Then, you can run the
following command:
$ export DATABASE_URL=postgres://<user>:<password>@localhost
$ diesel print-schema | tee src/schema.rs
table! {
    messages (id) {
        id -> Int4,
        username -> Varchar,
        message -> Text,
        timestamp -> Int8,
    }
}
where <user>:<password> are your database’s username and password. If your
database doesn’t have a password, the user will suffice. The latter command
shows us the representation of our database in Rust, which we also store in
src/schema.rs. The table! macro comes from Diesel. Besides the schema,
Diesel also requires us to write a model. This we have to write ourselves, in
src/models.rs:
#[derive(Queryable, Serialize, Debug)]
pub struct Message {
    pub id: i32,
    pub username: String,
    pub message: String,
    pub timestamp: i64,
}
This model is the Rust struct we interact with in our code. To do so, we need to add a few declarations to our main module:
#[macro_use]
extern crate serde_derive;
#[macro_use]
extern crate diesel;

mod schema;
mod models;
At this point, we are ready to fill in the functions write_to_db and
query_db that we left out earlier.
Writing to the Database
We’ll begin with write_to_db, which should simply write an entry into the
database and return its creation timestamp:
use diesel::prelude::*;
use diesel::pg::PgConnection;

fn write_to_db(
    new_message: NewMessage,
    db_connection: &PgConnection,
) -> FutureResult<i64, hyper::Error> {
    use schema::messages;
    let timestamp = diesel::insert_into(messages::table)
        .values(&new_message)
        .returning(messages::timestamp)
        .get_result(db_connection);

    match timestamp {
        Ok(timestamp) => futures::future::ok(timestamp),
        Err(error) => {
          error!("Error writing to database: {}", error.description());
          futures::future::err(hyper::Error::from(
              io::Error::new(io::ErrorKind::Other, "service error"),
          ))
        }
    }
}
And it’s as easy as that! Diesel exposes a very intuitive and type-safe query interface, with which we:
- specify the table we are inserting into,
- specify the value(s) we are inserting (more on this in a second),
- specify what values we want to return at the same (if any) and
- call
get_result, which will actually execute the query.
This gives us a QueryResult<i64> object, which we can match on, handling
errors as needed. Two things that should surprise you above are that (1) we
can pass the NewMessage struct as-is to Diesel and (2) we are using a magical
db_connection parameter that wasn’t there before. Let’s resolve these two
mysteries! For (1), this will not actually compile with the code I have given
you so far. To make it compile, we need to move our NewMessage struct into
src/models.rs, right under the Message struct, and make it look like so:
use schema::messages;

#[derive(Queryable, Serialize, Debug)]
pub struct Message {
    pub id: i32,
    pub username: String,
    pub message: String,
    pub timestamp: i64,
}

#[derive(Insertable, Debug)]
#[table_name = "messages"]
pub struct NewMessage {
    pub username: String,
    pub message: String,
}
This way, Diesel can directly associate the fields of our struct with the
columns in the database. Neat! Note that, for this, the table must be called
messages, as indicated by the table_name attribute.
For the second mystery, we’ll have to change our code a bit to introduce the concept of a database connection. In Service::call(), put the following right at the top:
fn call(&self, request: Request) -> Self::Future {
    let db_connection = match connect_to_db() {
        Some(connection) => connection,
        None => {
            return Box::new(futures::future::ok(
                Response::new().with_status(StatusCode::InternalServerError),
            ))
        }
    };
where connect_to_db is defined as
use std::env;

const DEFAULT_DATABASE_URL: &'static str = "postgresql://postgres@localhost:5432";

fn connect_to_db() -> Option<PgConnection> {
    let database_url = env::var("DATABASE_URL").unwrap_or(String::from(DEFAULT_DATABASE_URL));
    match PgConnection::establish(&database_url) {
        Ok(connection) => Some(connection),
        Err(error) => {
            error!("Error connecting to database: {}", error.description());
            None
        }
    }
}
This function looks for the environment variable DATABASE_URL to determine the
Postgres database URL, or uses a pre-defined constant otherwise. It then
attempts to create a new database connection and returns it if possible. You’ll also want to update your GET and POST handlers:
(&Post, "/") => {
    let future = request
        .body()
        .concat2()
        .and_then(parse_form)
        .and_then(move |new_message| write_to_db(new_message, &db_connection))
        .then(make_post_response);
    Box::new(future)
}
(&Get, "/") => {
    let time_range = match request.query() {
        Some(query) => parse_query(query),
        None => Ok(TimeRange {
            before: None,
            after: None,
        }),
    };
    let response = match time_range {
        Ok(time_range) => make_get_response(query_db(time_range, &db_connection)),
        Err(error) => make_error_response(&error),
    };
    Box::new(response)
}
With this scheme, we’ll be creating a new Database connection for each request. Depending on your setup, this may be fine. However, you may also want to consider using r2d2 to establish a connection pool which will keep a constant number of connections open for you and hand you one as you need it.
Querying the Database
We can now write new messages into the database – that’s awesome. Next, we’ll want to figure out how to read them back out by querying the database appropriately. Let’s implement query_db:
fn query_db(time_range: TimeRange, db_connection: &PgConnection) -> Option<Vec<Message>> {
    use schema::messages;
    let TimeRange { before, after } = time_range;
    let query_result = match (before, after) {
        (Some(before), Some(after)) => {
            messages::table
                .filter(messages::timestamp.lt(before as i64))
                .filter(messages::timestamp.gt(after as i64))
                .load::<Message>(db_connection)
        }
        (Some(before), _) => {
            messages::table
                .filter(messages::timestamp.lt(before as i64))
                .load::<Message>(db_connection)
        }
        (_, Some(after)) => {
            messages::table
                .filter(messages::timestamp.gt(after as i64))
                .load::<Message>(db_connection)
        }
        _ => messages::table.load::<Message>(db_connection),
    };
    match query_result {
        Ok(result) => Some(result),
        Err(error) => {
            error!("Error querying DB: {}", error);
            None
        }
    }
}
The code for this is unfortunately slightly complex. This is because both
before and after are Options, and Diesel does not currently provide an
easy way to gradually build up a query. So we have to exhaustively check if
before or after are Some or None and perform zero to two filters each
time. The querying itself, however, is once more simple and intutitive. Since
where is a keyword in Rust, the WHERE clause from SQL is implemented with
the filter method in Diesel. Relational operators like > or = are methods
on the model structs, like .gt() or .eq().
Rendering HTML Templates
We’re very close! All that’s left at this point is to write render_page, which
we left out earlier. For this, we’ll want to use a templating library.
Templating, in the context of web servers, is the general concept of creating an
HTML page with dynamic data and control flow. Popular templating libraries in
other languages are Handlebars in JavaScript or
Jinja in Python. While I personally used a Rust port
of Handlebars for my
url-shortening project, I have to say
that the landscape of templating libraries in Rust is not
fantastic. Like in quite a few
domains in Rust, there is no go-to, “quasi-standard” library like Jinja is in
Python. This makes picking one of the hard, since you never know if it will turn
into abandonware 6 months down the road.
Nevertheless, for this tutorial, we’ll use a templating library called maud. Albeit not be the most scalable option for a real-world application, maud is interesting and clever, allowing us to write HTML templates directly in Rust, using natural control flow. If anything, maud shows off the power of Rust macros. That said, maud will require a nightly build of Rust to enable the procedural macro feature, which is close to being stable, it seems.
First, add maud to your Cargo.toml:
[dependencies]
maud = "0.17.2"
Then, add the following declarations to the top of your main.rs:
#![feature(proc_macro)]
extern crate maud;
Now, we can write render_page:
fn render_page(messages: Vec<Message>) -> String {
    (html! {
        head {
            title "microservice"
            style "body { font-family: monospace }"
        }
        body {
            ul {
                @for message in &messages {
                    li {
                        (message.username) " (" (message.timestamp) "): " (message.message)
                    }
                }
            }
        }
    }).into_string()
}
mind = blown? Yes, somewhat. Just let that sink in for a bit. Breathe in deeply. Exhale. You’re writing an HTML page using a Rust macro. Damn.
And that’s it! Our microservice is complete. And micro it is. Let’s run it:
$ DATABASE_URL="postgresql://goldsborough@localhost" RUST_LOG="microservice=debug" cargo run
Compiling microservice v0.1.0 (file:///Users/goldsborough/Documents/Rust/microservice)
 Finished dev [unoptimized + debuginfo] target(s) in 12.30 secs
  Running `target/debug/microservice`
INFO 2018-01-22T01:22:16Z: microservice: Running microservice at 127.0.0.1:8080
and then in another terminal:
$ curl -X POST -d 'username=peter&message=hi' 'localhost:8080'
{"timestamp":1516584255}
$ curl -X POST -d 'username=mike&message=hi2' 'localhost:8080'
{"timestamp":1516584282}
In the first, you should see the debug logs:
...
DEBUG 2018-01-22T01:24:14Z: microservice: Request { method: Post, uri: "/", version: Http11, remote_addr: Some(V4(127.0.0.1:64869)), headers: {"Host": "localhost:8080", "User-Agent": "curl/7.54.0", "Accept": "*/*", "Content-Length": "25", "Content-Type": "application/x-www-form-urlencoded"} }
DEBUG 2018-01-22T01:24:14Z: microservice: Response { status: Ok, version: Http11, headers: {"Content-Length": "24", "Content-Type": "application/json"} }
...
Now, let’s GET some messages:
$ curl 'localhost:8080'
<head><title>microservice</title><style>body { font-family: monospace }</style></head><body><ul><li>peter (1516584255): hi</li><li>mike (1516584282): hi2</li></ul></body>
or, if you navigate your web browser to http://localhost:8080:
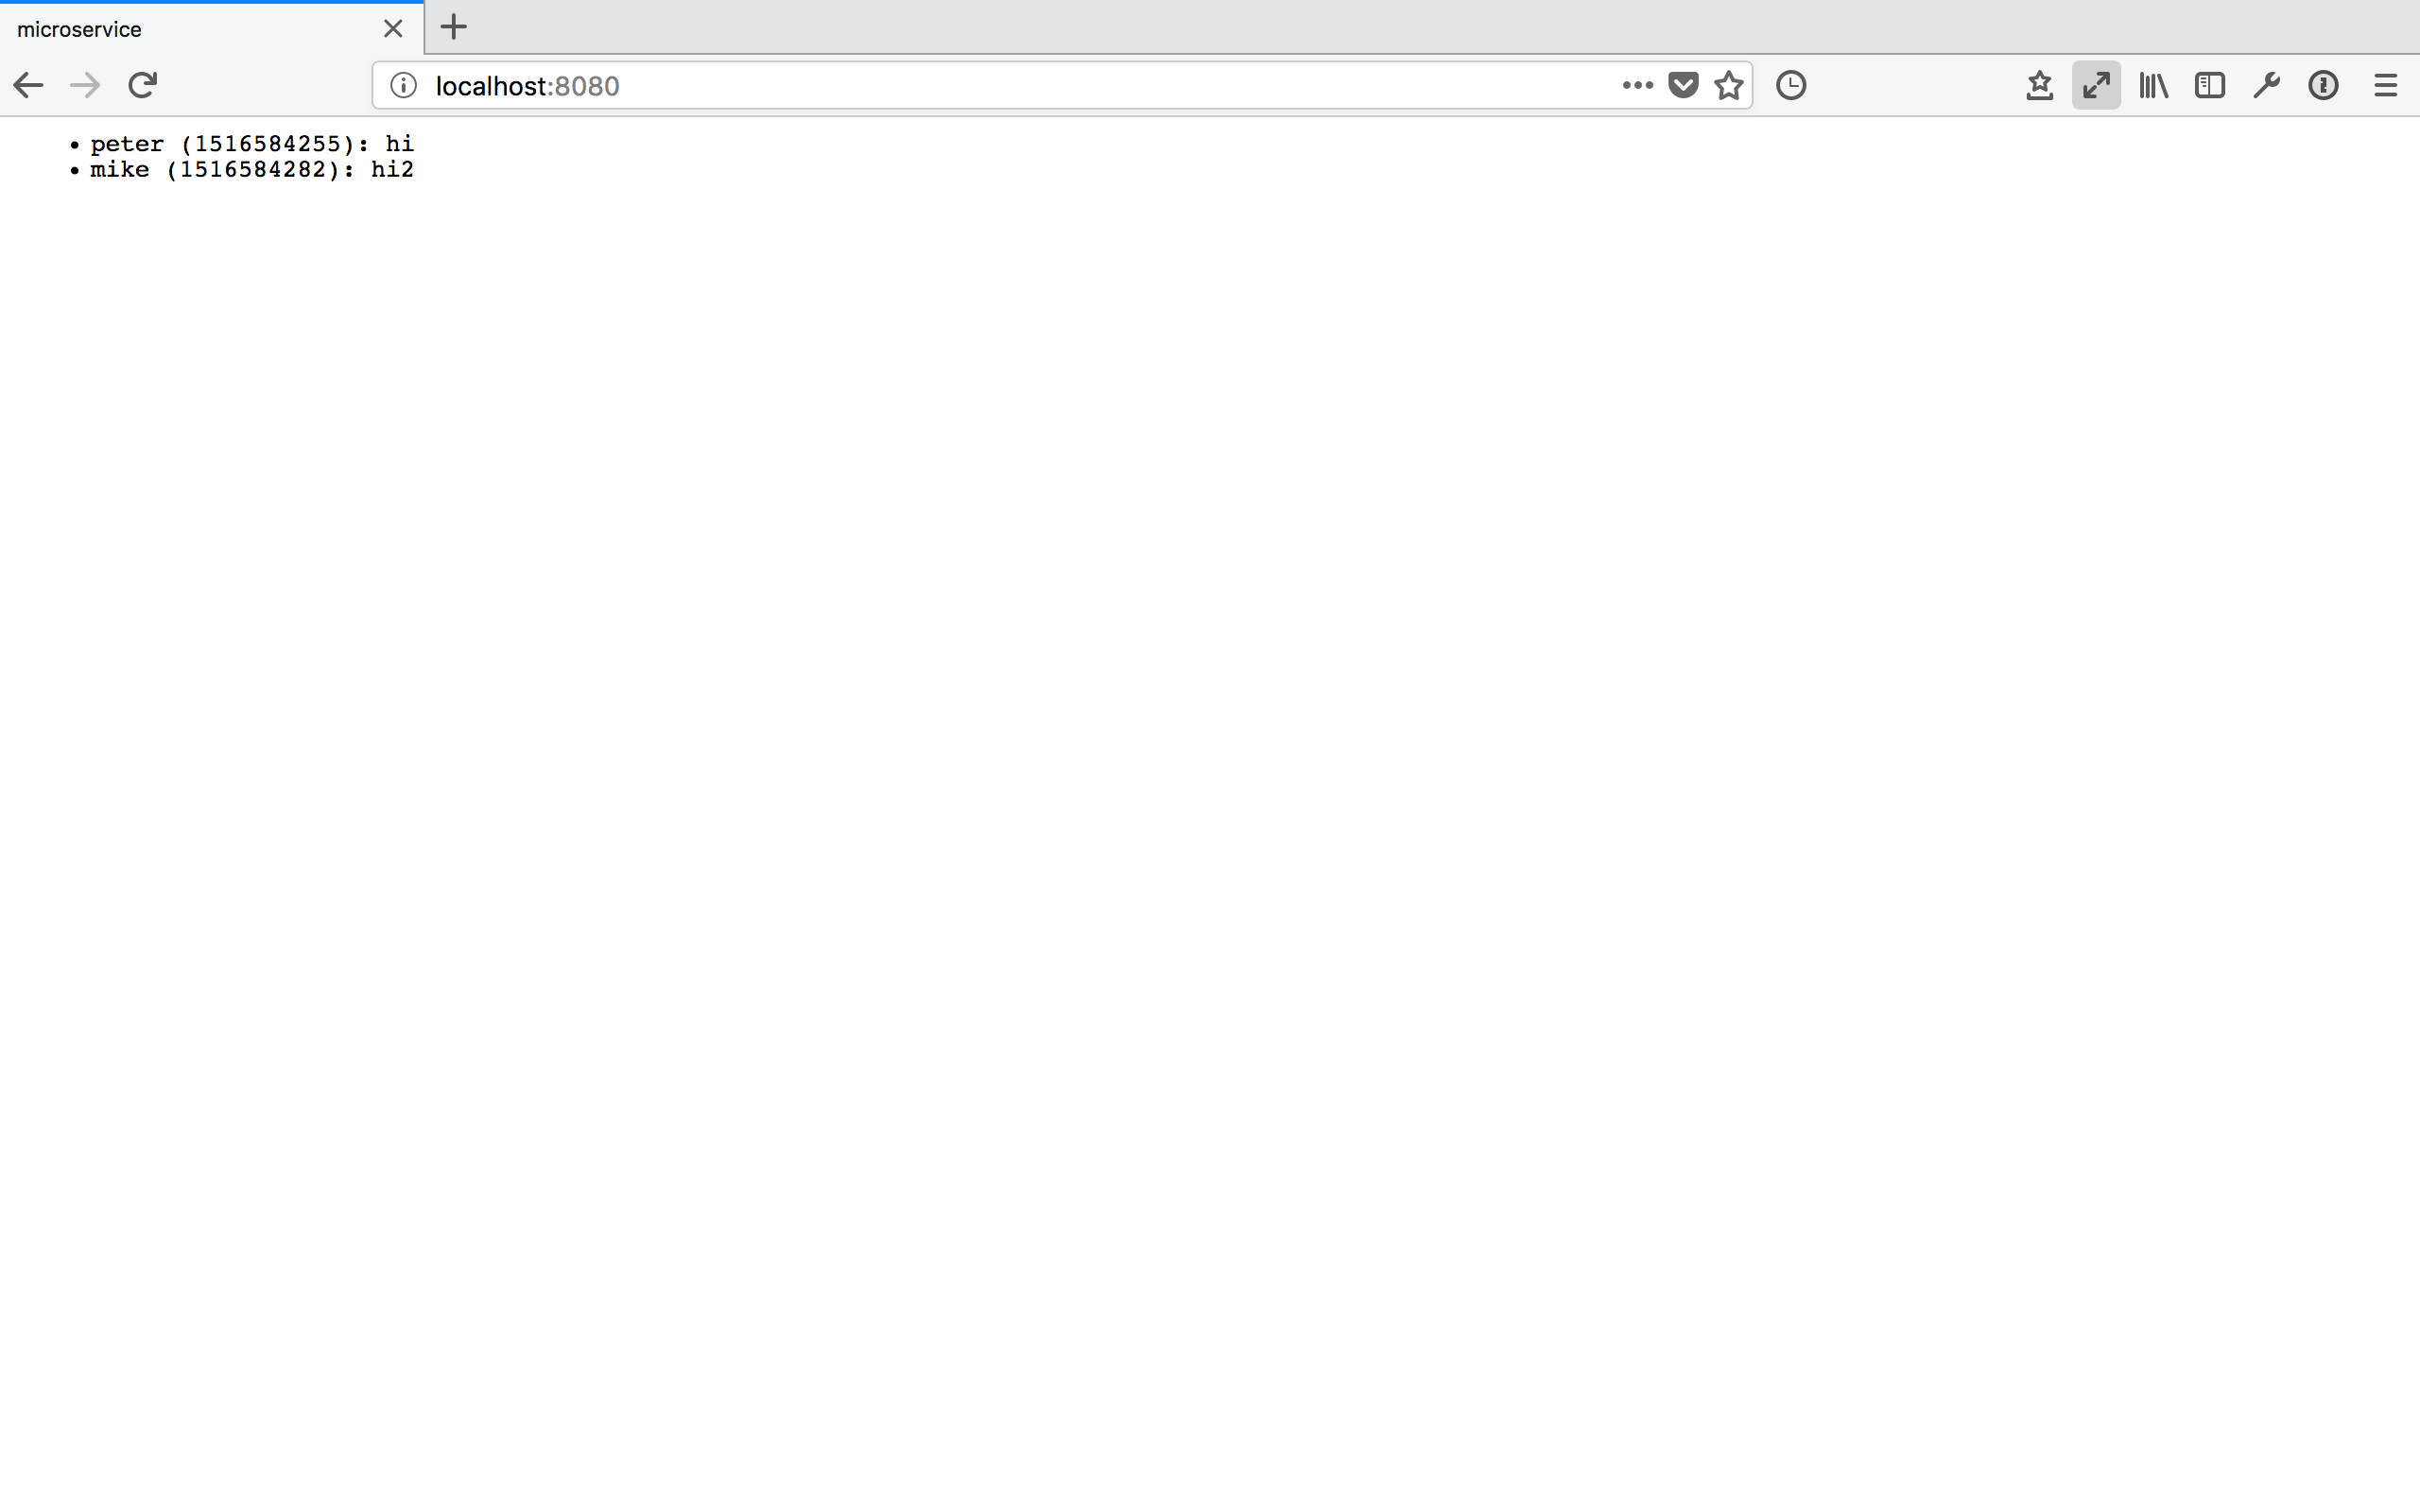
You can also try adding ?after=<timestamp>&before=<timestamp> to the query URL and verify that you only get messages in the specified time range.
Packaging with Docker
I’ll talk very briefly about how to package this application in a Docker container. This doesn’t have anything to do with Rust per-se, but it’s useful to know about relevant Docker containers to base yours on.
There are two official Docker images maintained by the Rust developers: one for
stable and one for nightly Rust. The stable Rust image is simply rust and the
nightly one is rust-lang/rust:nightly. Basing our container on one of these is
very simple. We’ll want to base ours on the nightly image. Make the content of your Dockerfile look like this:
FROM rustlang/rust:nightly
MAINTAINER <your@email>

WORKDIR /var/www/microservice/
COPY . .

RUN rustc --version
RUN cargo install

CMD ["microservice"]
We’ll run the Postgres database in a separate Docker container, as is typical of a microservice architecture. Make this Dockerfile-db:
FROM postgres
MAINTAINER <your@email>

# Create the table on start-up
ADD schemas/messages.sql /docker-entrypoint-initdb.d/
And tie things together with a docker-compose.yaml:
version: '2'
services:
  server:
    build:
      context: .
      dockerfile: docker/Dockerfile
    networks:
      - network
    ports:
       - "8080:80"
    environment:
      DATABASE_URL: postgresql://postgres:secret@db:5432
      RUST_BACKTRACE: 1
      RUST_LOG: microservice=debug
  db:
    build:
      context: .
      dockerfile: docker/Dockerfile-db
    restart: always
    networks:
      - network
    environment:
      POSTGRES_PASSWORD: secret

networks:
  network:
This file is a bit more involved, but once it’s written, the rest is a breeze.
Note that I place both Dockerfiles into a docker/ folder. Now, simply run
docker-compose up:
$ docker-compose up
Recreating microservice_db_1 ...
Recreating microservice_server_1 ... done
Attaching to microservice_db_1, microservice_server_1
server_1  |  INFO 2018-01-22T01:38:57Z: microservice: Running microservice at 127.0.0.1:8080
db_1      | 2018-01-22 01:38:57.886 UTC [1] LOG:  listening on IPv4 address "0.0.0.0", port 5432
db_1      | 2018-01-22 01:38:57.886 UTC [1] LOG:  listening on IPv6 address "::", port 5432
db_1      | 2018-01-22 01:38:57.891 UTC [1] LOG:  listening on Unix socket "/var/run/postgresql/.s.PGSQL.5432"
db_1      | 2018-01-22 01:38:57.917 UTC [20] LOG:  database system was shut down at 2018-01-22 00:10:07 UTC
db_1      | 2018-01-22 01:38:57.939 UTC [1] LOG:  database system is ready to accept connections
This will look different for you the first time you run it, of course. Anyway, that’s all there is to it. You could now push this into a GitHub repo, drop it on a (free) AWS or Google Cloud instance, and access your service from the outside world. Wooh!
Epilogue
Pieced together, the above snippets of code make up around 270 lines necessary to create our full-fledged microservice in Rust. I’m not saying that’s little, compared to the equivalent code written in, say, Flask. However, there are also more batteries-inclued web frameworks available in Rust, such as Rocket, that abstract away even more for you. Nevertheless, I believe taking this route and going slightly lower level with Hyper gave you some nice insights into how you can leverage Rust to write a safe and performant webservice.
I wrote this blog post to share the knowledge I picked up while learning about Rust and applying my knowledge to a small url-shortening webservice that I use to shorten URLs for my blog (which, if you take a look at your browser’s URL bar, are quite long). Coming out of this, I feel like I now have a solid appreciation for the features Rust brings along, and where it is more expressive and safe or less expressive (but not less safe) to work with compared to modern C++.
I feel like it may take another few years for Rust’s ecosystem to stabilize and
go-to, stable and well-maintained packages to establish themselves for the
majority of tasks. Nevertheless, the prospects are promising. Facebook is
already investigating the use of Rust for a new Mercurial server which would host its codebase. And more and more people are looking at Rust as
an interesting option for embedded programming. I’ll be watching the development
of the language closely, meaning I subscribed to the r/Rust subreddit.